5 Reasons I don’t believe in Spring Cleaning

“Did I hear that right?” Yes you did! I’m a cleaning guru and I don’t believe in spring cleaning! Sound too good to be true? It’s not..

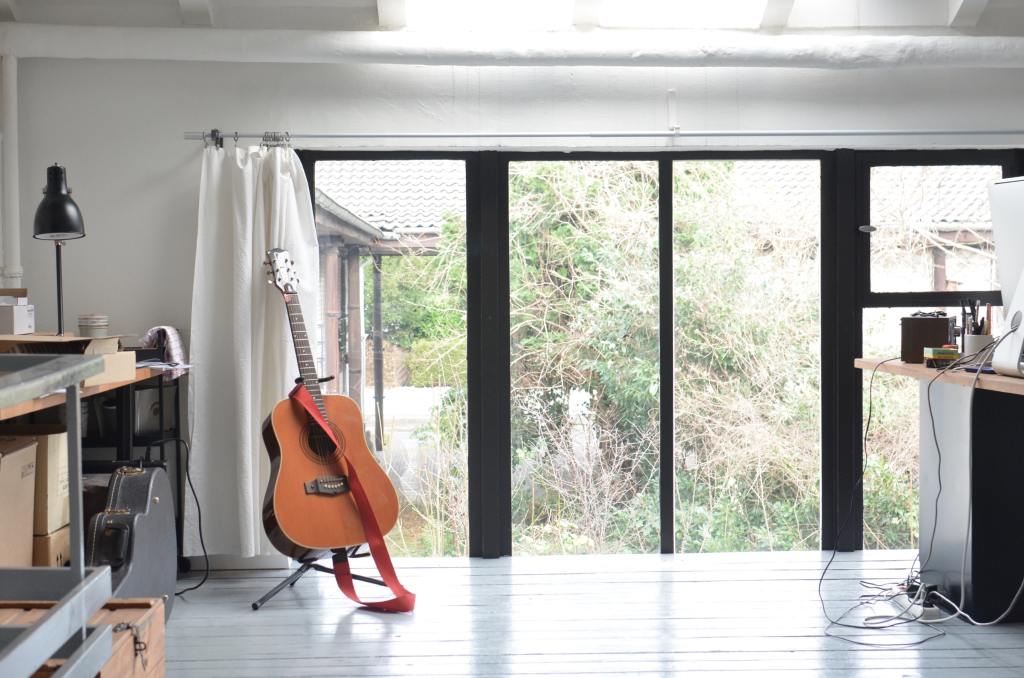
Spring Cleaning has grown in popularity over the years, but did you know there’s a history behind it? Though it dates from centuries ago, in this country it began as a way to rid your rugs, drapes, blankets, and home of the soot from the coal that was primarily used to heat the home. This process of taking down your drapes, bringing your rugs outside to beat them and vacuuming your furniture to rid your home of the soot that accumulated from the way the furnace heated your house was done in the spring when the heat was no longer needed.  This was part of the tradition of what we now call “spring cleaning”, and I believe it is something we no longer need to follow. Here are my reasons why: 

  1. If you wait until spring to do a thorough cleaning,  you will accumulate too much dust, too many allergens, and too much junk! 

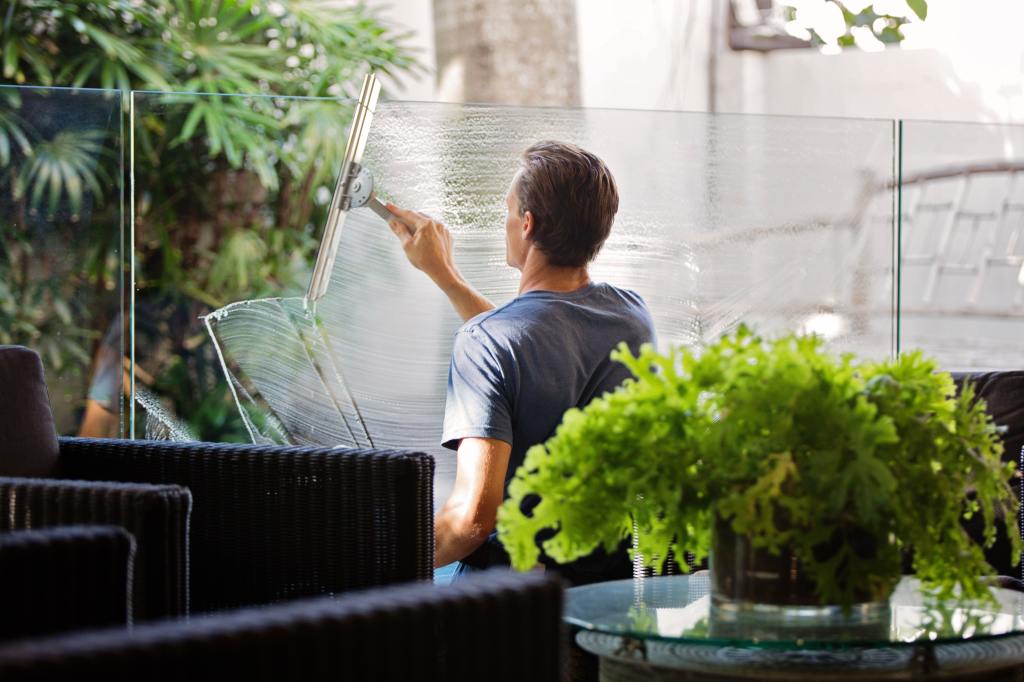
According to the ACAA, allergies are the 6th leading cause of chronic illness! Did you know that? I can attest to this firsthand. I would get sick every year in late September and always blamed it on the new busy schedule of the school year, never once thinking I developed onset adult allergies!  Dust IN your home is just as much a culprit as the pollen outside. So you can not afford to wait until spring to do a thorough cleaning that needs to be maintained all year long. For example, I now vacuum our mattresses once a month, take the broom to sweep the baseboards behind the beds, and change our sheets every Sunday (that’s the day I pick ) and wash them in hot hot water. I did not realize how many dust mites, dust, and allergens are in our bedding until I read up on it. Now this is part of my monthly, and weekly routine, and it honestly takes less than 1 minute. 

  1. Spring cleaning takes WAY too long, who has time for 3-5 days of cleaning in a row? 

With my rotating cleaning system, I am able to keep my house clean all year long. (Now toys and dishes are another story! Some days look like I just hosted a baby frat party!) You may get into a funk if you wait for Spring weather to make your house as clean and organized as it should be. Winter produces darker days, and more melatonin in our bodies, leaving us feeling sleepier and fighting off malaise. If you add on top of that a cluttered, dusty, dirty house it will likely affect your mood, ability to think and be creative, and sometimes give you feelings of anxiousness! 

Keeping a proper system in place all year long will help alleviate the symptoms you may be feeling. And now that so many people are working from home, you need your space to be a place that allows you to create, work efficiently and be on your game! 

  1. There are systems you should have in place that will allow your home to stay “spring cleaned” all year long.

I know it sounds like doing a thorough clean each month will take too long, but once you put a system in place, and use the right cleaning techniques, you will find that you are likely exerting the same amount of energy as you were before! One of my techniques is the first weekend of the month, I attack items on my rotating checklist. That’s just one of the many tips I have in completing my checklist. If you stay tuned, I will provide you with some easy, starting checklists. I started using these lists in my cleaning business, and as I grew my family needed to incorporate them into my daily life. You could almost say they have been tested for over 20 years! 

4. Spring is the time for getting outside and enjoying the beautiful weather, flowers, and vibe of the new season! 

Can you say picnic anyone? Yes, warm spring weather inspires us to want to clean and make our house beautiful, but it also is a time we need to get out and enjoy nature, observe the new flower growth and enjoy the longer days we are gifted with. It should not be spent indoors cleaning! I make it a point to incorporate outside play, walks, and self-reflection as soon as the weather warms up. Not put a toilet brush in my hand (except for work, because well, I get paid to do it then!)

5.  I spend my time doing this instead 

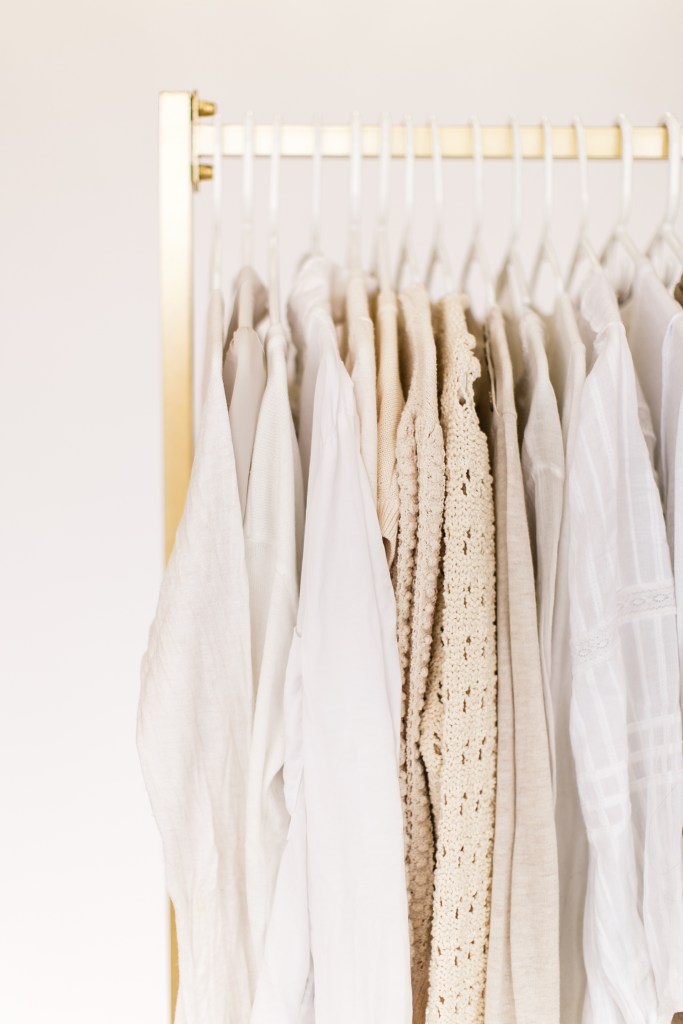
  1.  I do begin to rotate my seasonal clothes in and out of my closet, as well our kids. You may be fortunate enough to have closets big enough to not have to do this, but I do not. I also have to re-do my kids’ wardrobe each season, because they grow like weeds and nothing fits them anymore. It’s the time I do stock and inventory of all the new items I need to purchase to complete their wardrobe for the season. (It still confuses me 9 years later that my kids can’t re-use their clothes the following year!)
  2.   It is also a time I redecorate for the seasons, by changing out pillows, wreaths, and flowers (I love cutting down fresh flowers from outside, or branches for my vases). Changing your decor with the seasons doesn’t have to be expensive either.  I re-use pillows from the seasons before, take whatever nature has outside and put in my vases, and put new wreaths on the door. I also like to “treat myself” to a new decoration once a in while, and as the years pile on, they start to add up. 

My goal was to help simplify your cleaning routine and get you to the place where Spring Cleaning is truly a thing of the past.

Sending you squeeky clean thoughts,

Michelle M

5 Must know home cleaning tips to beat seasonal allergies

Spring is the season of new beginnings. With a wide variety of flowers blooming around us, it’s a beautiful time of year, but it’s also a time when seasonal allergies flare up as plants release pollen into the air. Did you know that nearly 1 in 6 Americans are affected by seasonal allergies? Many of us are unable to enjoy springtime as it triggers sniffles, sneezing, and other cold-like symptoms.

Of course, we can’t eliminate pollen and other allergens from the outside world, but we can take precautions to keep our homes allergy friendly. Pollen, dust, and dust mites often find their way into our homes and trigger allergies. However, with these 5 cleaning essentials, you can bid goodbye to these irritants and create a safe space within your home.

1. Take off your shoes

Pollen is one of the main culprits of allergies. As you go about your day outside, pollen and dust sticks to the bottom of your shoes. By taking your shoes off when you get home, you can prevent these allergens from spreading throughout your living space. Plus, shoes can also track dirt into the house and taking them off helps to keep your space clean.

Consider storing your shoes in a shoe rack beside the front door. If you don’t like walking barefoot around the house, you could get some cozy home slippers for yourself and your family members.

2. Wash your bedding

You must wash your bedding once a week in hot water to remove dust, dust mites and allergens. We spend up to one third of our days in bed, and it’s important to keep our sheets clean and allergen-free.

A few years ago, I read an article in the New York Times about dust mites, and I was shocked to learn that these microscopic creatures produce a potent allergen called DerP1 in their feces. Dust mites can trigger asthma-like symptoms, eczema, or sinus problems in certain people. Sleep is meant to rest your body and mind, but imagine going to bed just to wake up feeling sick!

The scary reality is, though our sheets look clean, they may be infested with these tiny creatures that aren’t visible to the human eye. The best way to tackle this problem is to regularly wash your bedding in hot water that’s at least 130 F. If you have children with allergies, it’s important to wash their stuffed animals as well.

3. Keep your shower clean

Mold and mildew love to hide in wet, damp and dirty areas. Your shower is the most susceptible place for this to happen. Mold releases spores into the air that when inhaled, can cause allergy symptoms. According to the Asthma and Allergy Foundation of America (AAFA), mold spores can also get into your lungs and trigger asthma.

To prevent the growth of mold, it’s important to scrub your sinks and tubs regularly. Also, don’t forget to clean the grout in your shower! A stiff-bristled brush, some vinegar, and baking soda are all you need to get the job done. Make a paste with baking soda and water, and apply it on the grout. Next, spray on a mixture of one part vinegar and one part warm water. The baking soda and vinegar mix will start to fizz. Once the fizzing stops, scrub with a brush.

Another one of my tips is to use a dish sponge holder like this and fill it with your favorite cleaning solution. You can scrub the shower down while you are showering and rinse before you get out.

4. Vacuum your mattress and behind your bed

This sounds crazy, but dust mites live in mattresses, and giving your mattress a good vacuuming before allergy season is a must, even if you have a dust mite cover. A thorough vacuuming can help rid your mattress of irritants such as mites, dead skin, food particles that attract insects, and any dirt that may have found its way onto your bed.

It might seem like a hassle, but this additional step ensures that you rest your head on a clean mattress every night and sleep soundly without pesky allergens triggering your allergies! While you’re at it, be sure to vacuum under and behind your bed as well. Dust tends to gather in these places, and it’s good to vacuum regularly to prevent the dust from accumulating.

5. Change your filters

You must change the filters on your AC and heating units, as well as your air purifiers. Air filters help to remove allergens such as pollen from the air and improve the air quality in your home. However, overloaded filters may not be very efficient. Thus, it’s important to periodically change your air filters, especially come allergy season.

Not all filters are the same, however. When purchasing your air filter, look out for the Minimum Efficient Reporting Value (MERV) rating. Basically, the higher the MERV rating for an air filter, the better it is at removing allergens or particles from the air. Do consult an expert before upgrading your filters to make sure that it’s compatible with your existing device or system.

***

These measures can make a huge difference during allergy season! With a few simple steps, you can create a living space that is both comfortable and kind to your allergies. Create a cleaning schedule that works for you and get started! An allergy friendly home is a just a few steps away. I’ll see you next month with more game-changing cleaning tips. Stay tuned!

Sending you squeeky clean thoughts,

Michelle M

5 Game-Changing Cleaning Tips For Squeeky Clean Windows

It’s finally that time of year again! Time for sunshine, lifting those blinds, and opening those windows! But yikes, your windows look a mess! Professional window cleaners are expensive, but I’m going to help you achieve that Squeeky Clean shine without breaking the bank.

Why cleaning your windows is important

People often clean their windows for aesthetic reasons, but there are other benefits to this as well. Dirty and grimy windows let less sunlight into your home, increasing the need to switch on your lights and costing you more in utility bills. Regularly cleaning your windows allows you to enjoy more natural sunlight in your home and saves you money in the process.

Also, rain from the environment begins to leave spots that will not come up, even with a razor blade. This build up over time begins to dull your window.  Regular cleaning with the right set of tools can prevent this from happening to you.  

Plus, if you decide to sell your home, appraisers will take into consideration overall home maintenance and that could include the state of your windows. Hence, it’s important to deep clean your windows at least twice a year.

Tools you need to clean your windows

You’ll need just a few things to get the job done, namely:

  • some rags, microfiber cloths, paper towels, and/or old newspapers
  • a solution of vinegar and water and/or Windex
  • a razor blade scrapper (more about this down below)
  • a squeegee

Tips for cleaning your windows

Alright, now that our window cleaning kit is ready to go, here are my 5 tips for spotless, streak-free windows:

1.  Clean off the dirt first

People have the habit of getting right into the Windex and paper towel stage. However, if your windows are dirty, this will just leave streaks. Instead, start by giving your windows a wipe-down with a microfiber cloth to remove dust and other loose debris first.

For particularly grimy windows, you can use a mixture of white vinegar and water for cleaning. After wiping down, spray the mix onto your windows and scrub with scrunched up balls of newspaper. Newspapers are highly absorbent, making them perfect for soaking up any excess water or grease.

2. Clean your window sills

Window sills tend to trap a lot of dust and insect droppings. If you have a vacuum attachment, this is the perfect time to use it. Vacuuming will help to remove all the loose dust and dirt on your window sills.

Next, wipe your window sills with a rag. Keep a bucket of water nearby to wash and rinse out the rags as they get dirty. Alternatively, you can also use disposable paper towels for this step.

This part is messy, but if you’re going to start opening up your windows more, you need to clean out your window sills. Don’t forget to vacuum and gently wipe down your window screens as well. They tend to gather a lot of dust too.

3. Use a razor blade scraper to get rid of stubborn stains and dirt

Your exterior windows are exposed to the outside world and get pretty dirty. Over time, they begin to gather dirt, grime, and even bird droppings. Did you know that bird droppings pose a

health risk to humans? According to BBC news, “Breathing dust or water droplets containing contaminated bird droppings can lead to several diseases, including a flu-like illness called psittacosis. Salmonella – a bacterial infection that can cause diarrhoea – may also be present in some bird droppings.”

It’s best to clean any bird droppings as soon as you notice them using a cloth and some warm water. Over time, these droppings become harder and more difficult to remove. Trying to remove them forcefully can result in visible scratches on your window.

In such situations, using a razor blade scraper allows you to get that professional finish without damaging your windows. The razor blade scrapes away stains, bird droppings, and other things that are stuck to your windows. Make sure to ALWAYS wet your windows first before using the blade, or it will scratch the glass. 

4. Use a squeegee for a streak-free finish

Now that you’ve cleaned off the dirt and scraped away any stubborn stains, you are ready for the next step – spray your windows with a window cleaner of your choice and squeegee them clean. Sometimes a cloth or rags can leave streaks, residue, or lint on your windows. Instead, using a squeegee to remove the cleaner leaves a better, streak-free finish.

Make sure you wipe your squeegee after EVERY stroke also, or the water on the squeegee will leave streaks.

5. Don’t forget the finishing touches

Last but not least, after the squeegee, dry off the whole window with a paper towel or cloth. If your window still has a few streaks, just respray lightly with windex, and wipe with a paper towel. You will have a  professional looking finish, I promise!